Woodworking and DIY projects often overlook the essential role played by wooden pins despite their prominence among tools and materials, yet those in the know recognize its important and crucial function. Harnessing its potential can elevate craftsmanship for sturdy yet beautiful creations – here’s how you can ensure these seemingly inconsequential dowels have an impactful role to play in your projects!
Knowledge of Wooden Pins
Before using wooden pins successfully, it’s vital that you understand their full range and potential – both types and sizes alike.
Wooden Pins of All Kinds and Sizes
Wooden pins come in several forms, from dowels and fluted dowels, to spindles. Each form can be tailored specifically to certain joints or applications – for instance, standard dowel sizes range between 1/4″-1″ in diameter with lengths that go as far as 4 inches long.
Selecting an Appropriate Pin
Wood pins must match both density and strength of wood they will join, in terms of both density and strength. A general guideline would be to select dowels approximately half as thick as those they will join so as to preserve joint integrity while providing enough surface area for glue adhesion.
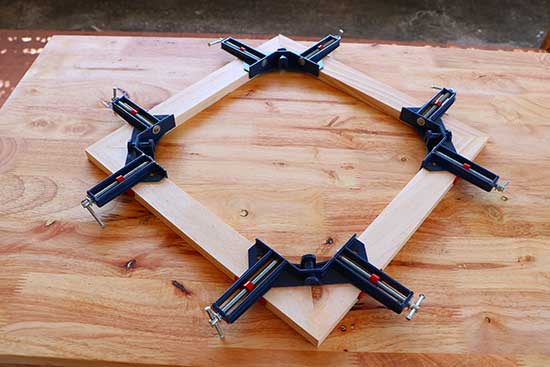
Steps for Efficient Use of Wooden Pins
Employing wooden pins correctly involves multiple key steps. Each one acts like an integral link in an intricate chain which, when completed correctly, forms a durable joint.
Step One: Prep of Materials
Start by making sure the surfaces of wood you will join are clean, flat and clear of oils or debris before selecting suitable wooden pins to match both size and type of joint you are creating.
Step Two : Insert Wooden Pins
Inserting pins requires precision. Measure and mark their positions on both pieces of wood before drilling straight holes at these marks using a doweling jig for accuracy if required. Attach and glue them in place if possible before tapping home any rough spots using a mallet before leaving to cure fully before continuing your task.
Step Three : Securing Wooden Pins
Once the dowels have been assembled in their joints, the next step should be securing them within them. To accomplish this, trim any protruding dowels flush to the surface of wood before supporting with screws if necessary and finish by sanding for a seamless, polished look.
Additional Tips and Tricks for Photographers to maximize their benefits, wooden pins offer additional advice:
Maintenance and Care
Once in place, wooden pins require minimal care once installed; simply check regularly for signs of wear or loosening and replace as necessary to preserve integrity of original construction. Should disassembly and reassembly become necessary in a joint assembly project, make sure new wooden pins are put into use to restore initial integrity of design.
Creative Ideas in Woodworking Decor
Wooden pins and custom pins can serve both functionally and decoratively in your projects. Explore different colors or wood species, or incorporate them into a pattern for an eye-catching accent in any of your works.
Experience and Explore Wooden pins offer many possibilities; feel free to experiment with their use by testing various decorating and finishing methods or including them as structural design elements. As soon as you start innovating more with wooden pins, the more you’ll realize just how versatile they truly can be!
Integrating wooden pins into your woodworking not only adds aesthetics to the final product but also attests to its solidity and care during construction. By following this practical guide you are well on your way towards producing joints which are both beautiful and functional – have fun pinning!